pnpm install -g create-keycloak-themeCreating your own Console
Learn to create your own version of Admin Console or Account Console.The Admin Console and Account Console are based on React. To create your own version of these consoles, you can use these React based npm packages:
-
@keycloak/keycloak-admin-ui: This is the base theme for the Admin Console. -
@keycloak/keycloak-account-ui: This is the base theme for the Account Console.
Both packages are available in the public npm repository.
The goal of these packages is to allow the developer to create new React-based consoles that will continue to function properly with new versions of Keycloak.
Additionally, Keycloak provides a tool called create-keycloak-theme that helps you get started. Full documentation for this tool can be found here.
Getting started
First, we install the create-keycloak-theme tool. Note that we are using pnpm, but plain npm should work as well.
Next, we use the tool to create a full build environment for our new console. In this example, we create a new Account Console, but everything that follows applies to creation of an Admin Console. You would just change the -t parameter in the following command.
pnpm create keycloak-theme my-theme -t accountNext, we install npm libraries.
cd my-theme
pnpm install
Now, we start up the development environment, which uses Vite. This will allow code changes to immediately show up in your browser.
pnpm run devThen we start a keycloak server. It will be automatically downloaded, started, and linked to the development environment.
pnpm run start-keycloakNow everything is set up and we are ready to start hacking. To see a customized version of the Account Console, point your browser to http://localhost:8080/realms/master/account.
The user name and password are both admin. Once logged in, you will see the new Account Console rendered:
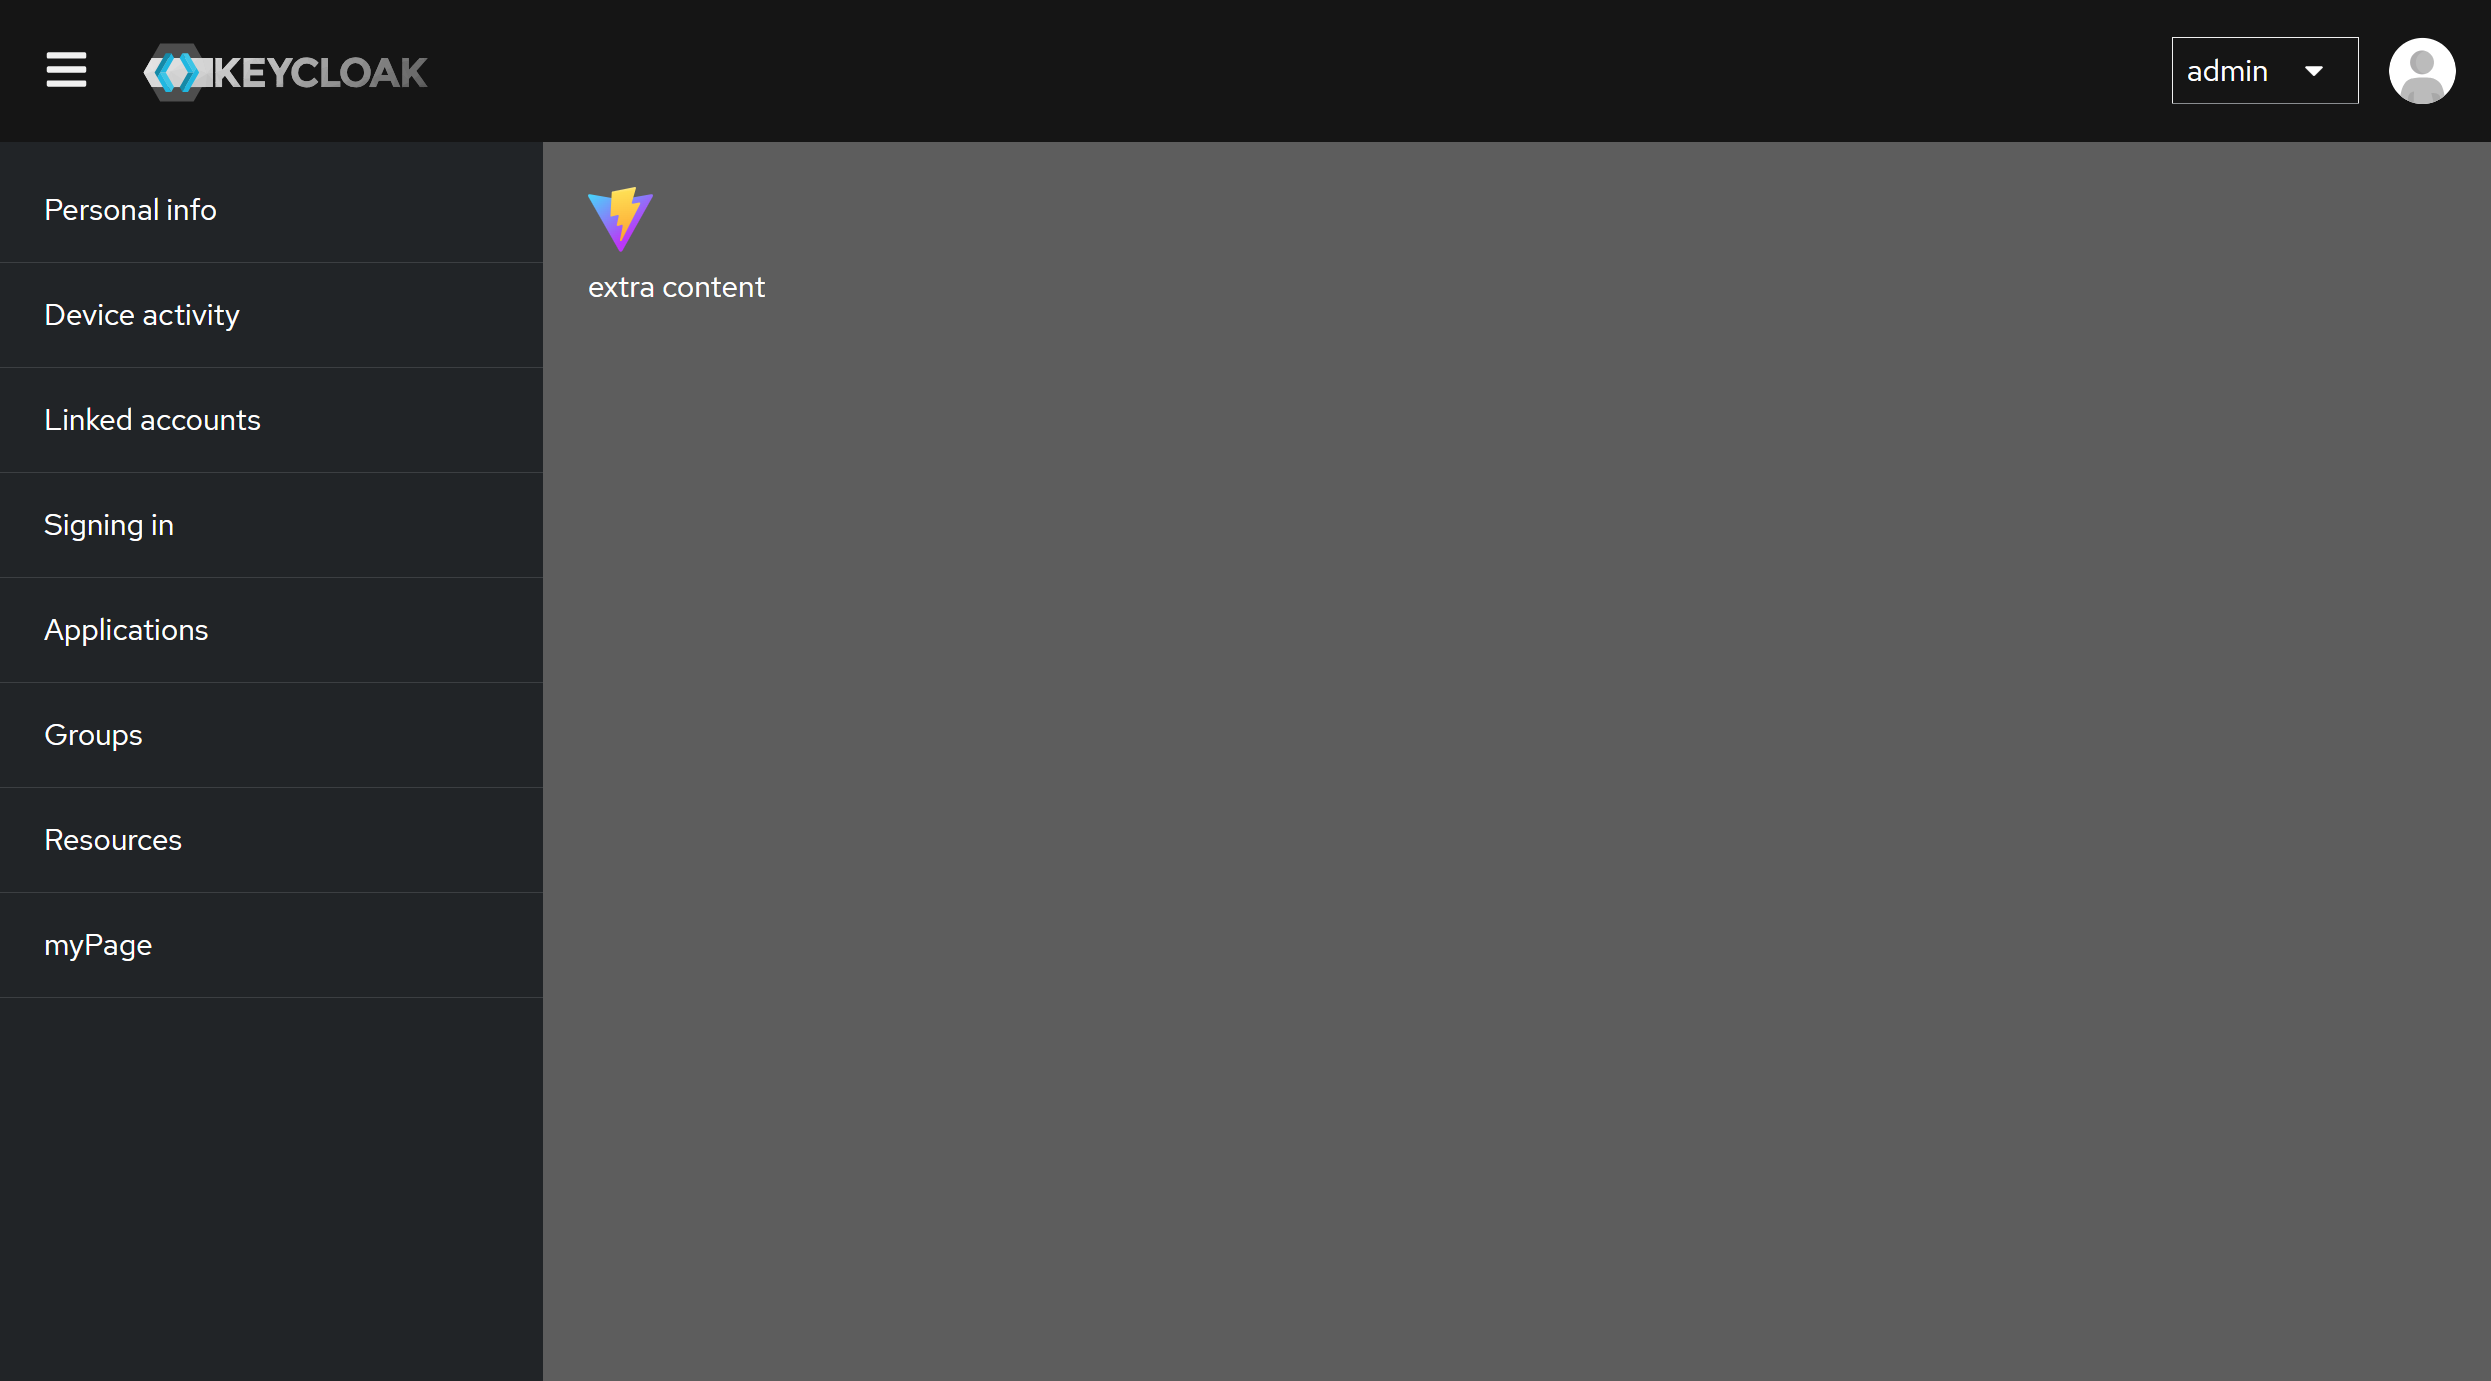
Figure 1. Custom Account Console
| If you need to use the Admin Console, go to http://localhost:8080 |
Adding a new page
The first thing we want to do is add a new page to our custom Account Console. You will see that there is already a template for this, /src/MyPage.tsx.
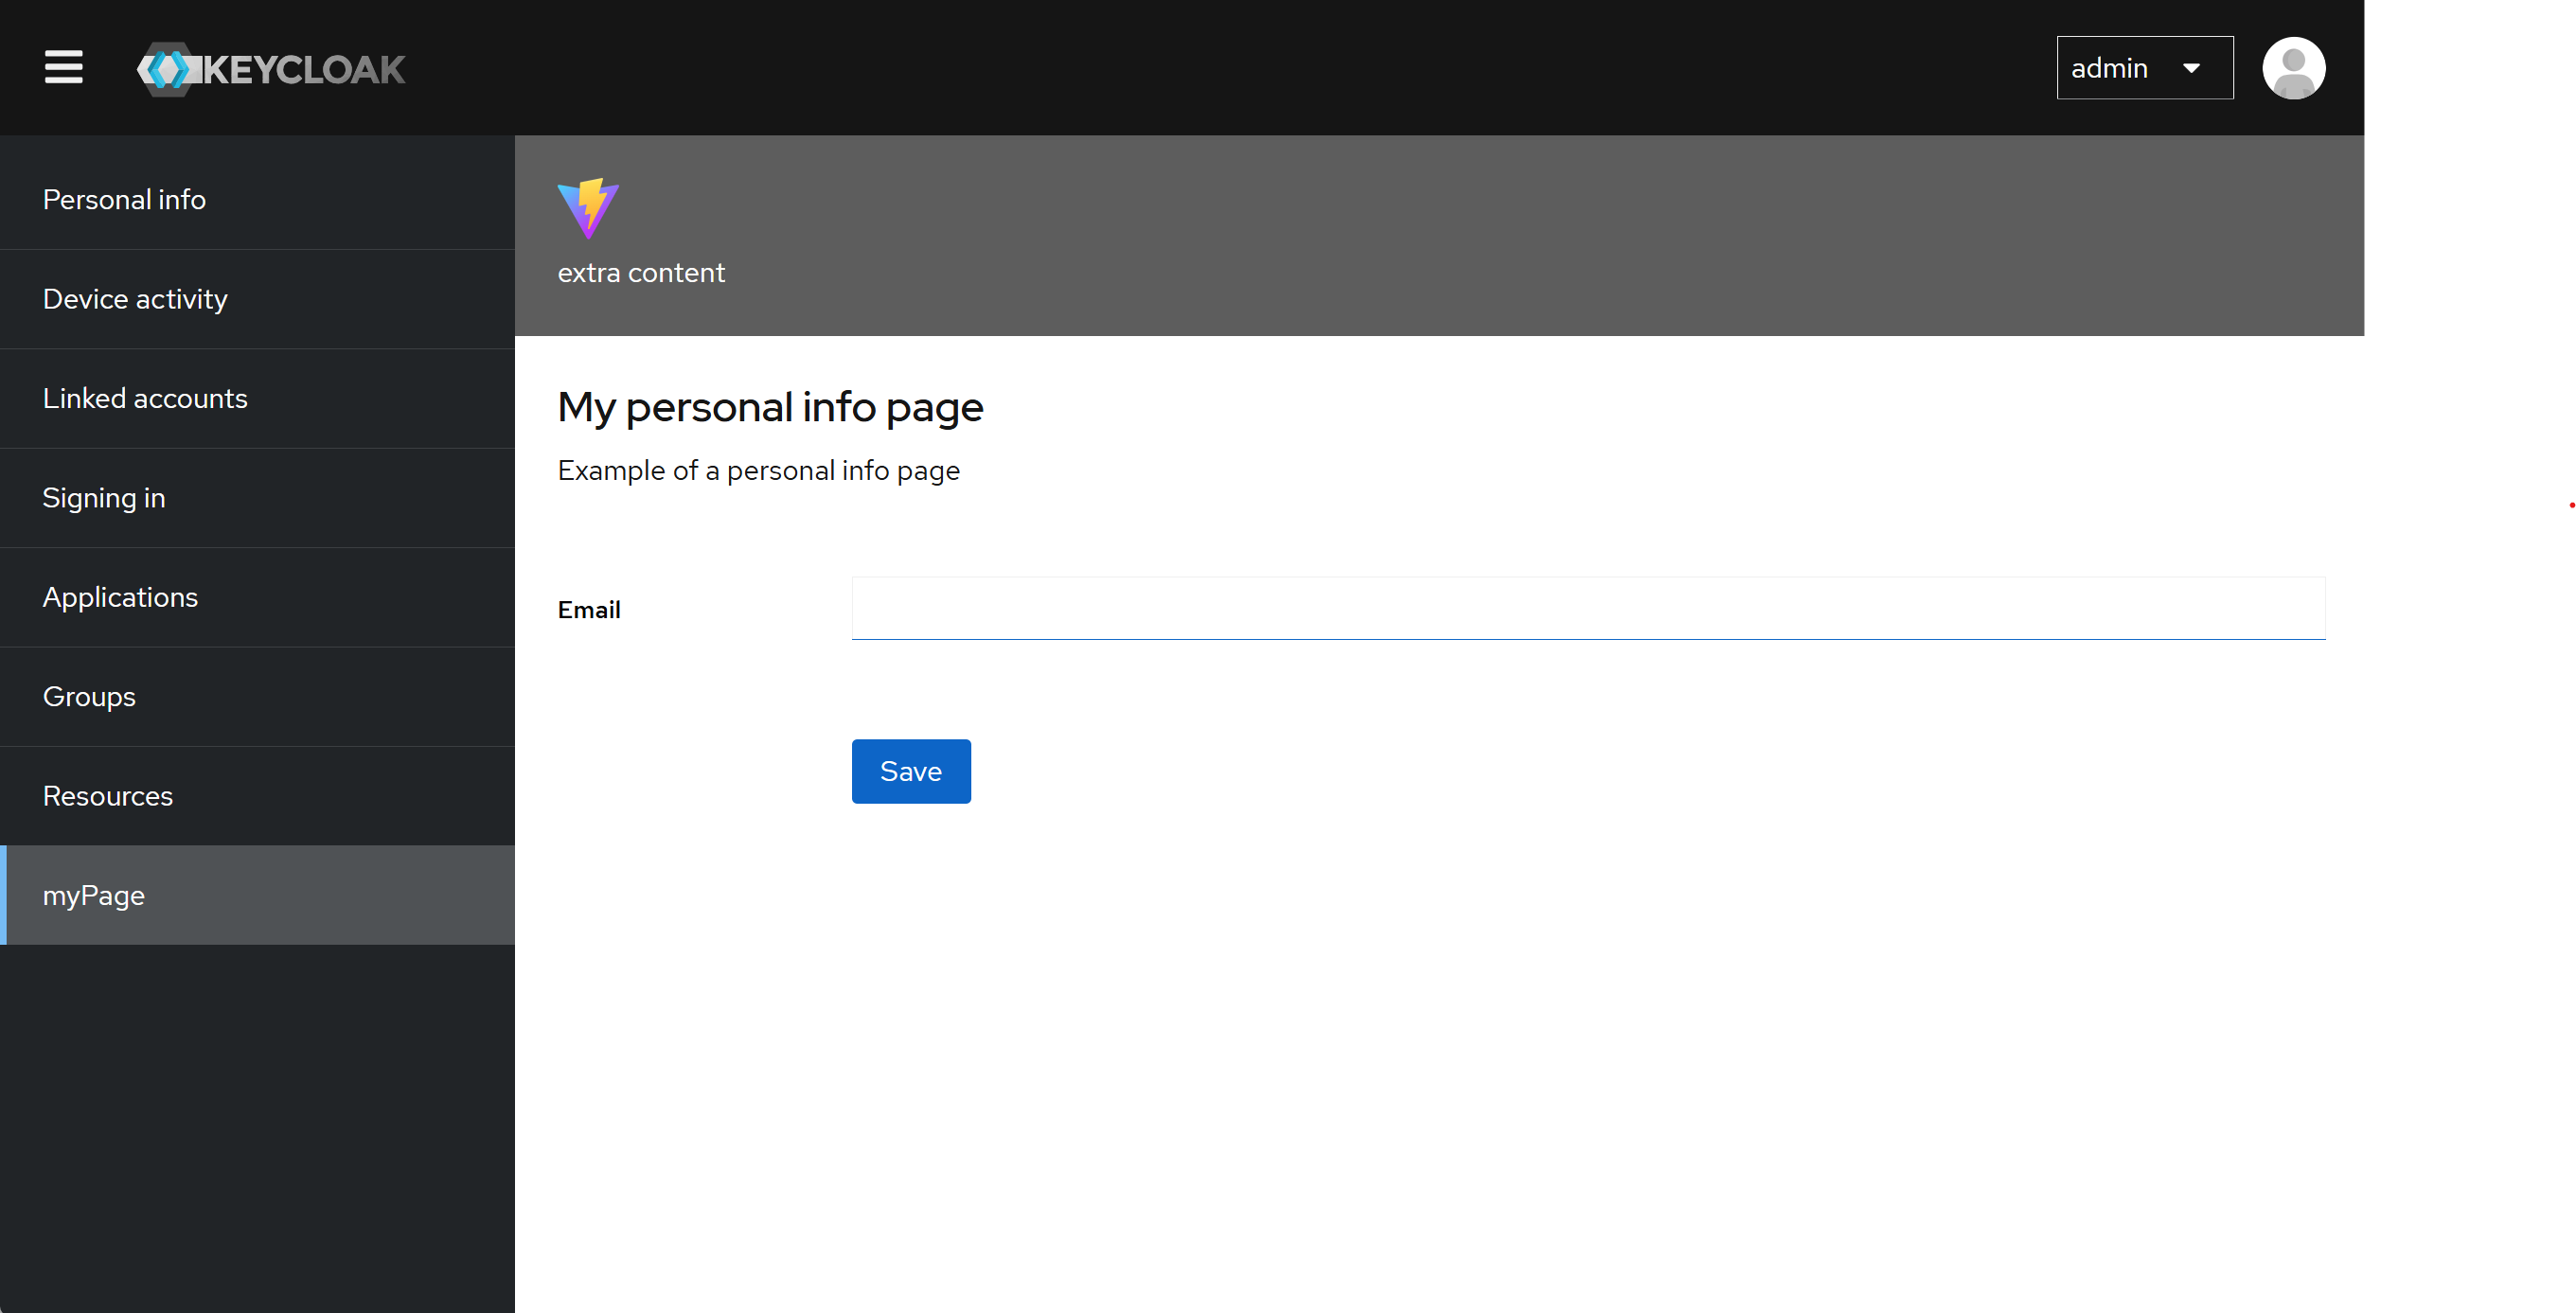
Figure 2. MyPage.tsx
There are a few parts of the code to take note of. First, there is the import statement starting with line 1:
import {
  AccountEnvironment,
  Page,
  UserRepresentation,
  getPersonalInfo,
  savePersonalInfo,
  useAlerts,
  useEnvironment,
  usePromise,
} from "@keycloak/keycloak-account-ui";
These imports of components and functions are from the aformentioned library @keycloak/keycloak-account-ui. This library will stay up to date with new versions of Keycloak. Therefore, you can rely on this library across releases and not worry that your version of Account Console will break.
For a full list of the exports from this library, see the source code.
Incidentally, if you are instead creating an Admin Console, see this source code.
You may notice that there is already a link in the lefthand navigation for MyPage.tsx, which shows up as myPage. If you click on that link, you will see MyPage.tsx in action. This was accomplished in the routes.tsx file.
For myPage, the important parts in routes.tsx are as follows:
import { MyPage } from "./MyPage";export const MyPageRoute: RouteObject = {
path: "myPage",
element: <MyPage />,
};
export const RootRoute: RouteObject = {
path: decodeURIComponent(new URL(environment.baseUrl).pathname),
element: <App />,
errorElement: <>Error</>,
children: [
PersonalInfoRoute,
DeviceActivityRoute,
LinkedAccountsRoute,
SigningInRoute,
ApplicationsRoute,
GroupsRoute,
ResourcesRoute,
MyPageRoute,
],
};The last thing to notice is that in your development environment, the navigation link to MyPage.tsx is rendered as "myPage". We would rather see this rendered as "My Page". The good news is that when you do the production build of your custom Account Console, it will be properly rendered. myPage is a localization key that will be resolved to the proper language at runtime. To see the keys and values for English, look in \maven-resources\theme\my-account\account\messages\messages_en.properties.
Modifying an existing page
You may wish to modify one of the Account Console pages that already exists in Keycloak. One approach is to simply re-create the entire page yourself using the method in the previous section.
But you may instead wish to start with the source code from the Keycloak project. If that is your choice, you can find the source code for all the pages in the Keycloak GitHub project here.
As an example, we will use the Device Activity page (DeviceActivity.tsx). Let’s assume that we want to remove the details from each device. We start with a screen that looks like this:
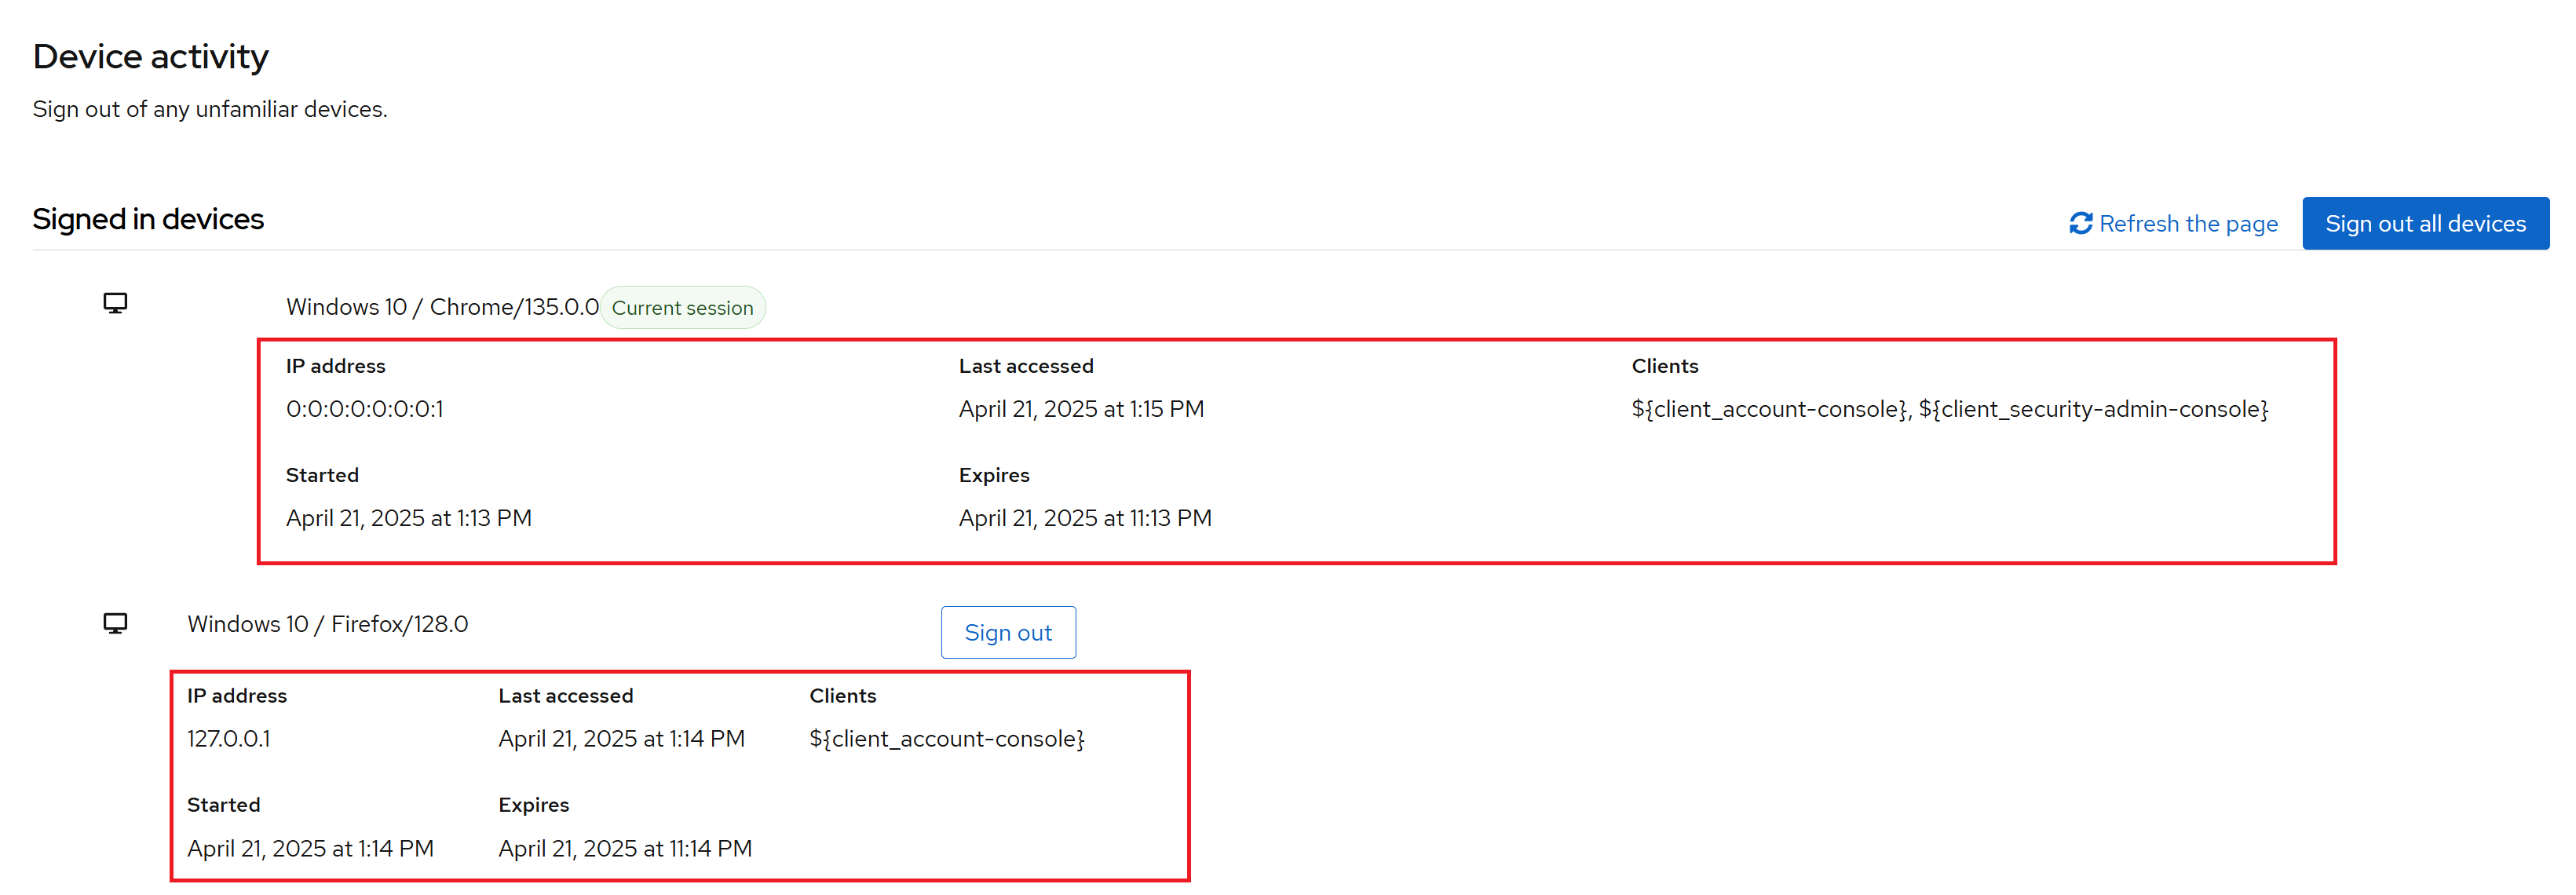
Figure 3. We want to remove the indicated details from DeviceActivity.tsx
We will need to modify the original source code and replace the page found in @keycloak/keycloak-account-ui.
First, download DeviceActivity.tsx from GitHub.
Then remove the details block from template and remove any unused imports.
In addition to this, there are some other changes you will need to make in order to allow your new page to work properly with your custom Account Console.
These imports will now come from the library @keycloak/keycloak-account-ui:
import { deleteSession, getDevices } from "../api/methods";
import {
  ClientRepresentation,
  DeviceRepresentation,
  SessionRepresentation,
} from "../api/representations";*/
import { Page } from "../components/page/Page";
Here is the new import statement:
import {
  AccountEnvironment,
  Page,
  usePromise,
  DeviceRepresentation,
  SessionRepresentation,
  deleteSession,
  getDevices,
  useAlerts,
  useEnvironment, // <---- moved from ui-shared
} from "@keycloak/keycloak-account-ui";
Note that the `useEnvironment' function is also added to this import.
The last problem to take care of is the PatternFly icons. These icons are not referenced anywhere else in your project. So you will need to add this as a dependency.
pnpm install @patternfly/react-iconsFinally, we need to change routes.tsx in order to replace the old Device Activity page with our new version. This is just a matter of removing the DeviceActivity import from @keycloak/keycloak-account-ui and adding an import that points to our new source file:
import { DeviceActivity } from "./DeviceActivity";Once all this is complete, your new Device Activity page will look like this:
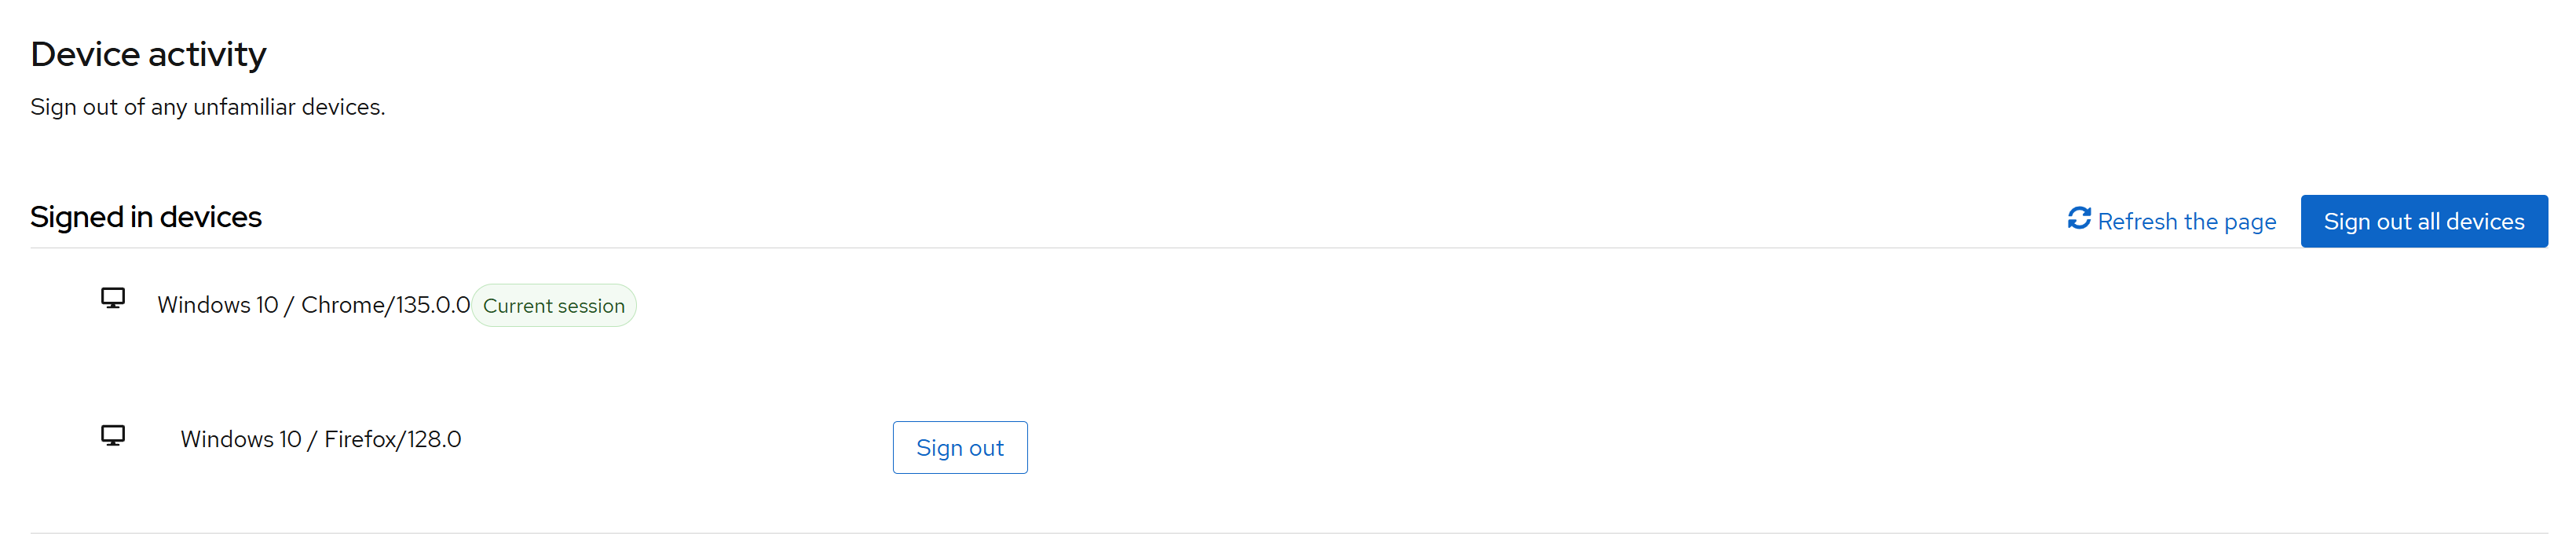
Figure 4. DeviceActivity.tsx with details removed
Deploying your custom console
The last step is to build and deploy your custom console. For this, you may need to install Maven. With Maven installed, run:
mvn packageIf the build is successful, you will see a jar created in the /target directory. This jar can now be deployed to production by copying it to the /providers directory of the Keycloak server.
On this page